What Microcement Delivers in a Kitchen
Oil and Stain Resistant
Kitchen-grade sealers create a barrier that stops grease and food acids from penetrating the surface. Spills sit on top until you wipe them away — the sealer, not fast reflexes, does the work.
Heat-Stable Around Cooktops
The mineral matrix handles the ambient heat around stovetops and ovens without cracking or degrading. Not a heat pad — do not place hot pans directly on the surface — but fully stable under the thermal conditions of a working kitchen.
No Grout Lines to Clean
Grout lines in a kitchen floor or splashback collect grease, food debris, and bacteria no matter how frequently they are cleaned. A seamless surface eliminates the collection point entirely — wipe once, the surface is clean.
Applied Over Existing Surfaces
Existing kitchen tiles, stone countertops, and splashbacks stay in place. No demolition, no rubble, no weeks of disruption in the most-used room in the home.
Microcement Kitchen Projects
Islands, splashbacks, countertops, and floors — each one sealed against the specific demands of daily kitchen use.


Where Microcement Is Used in Kitchens
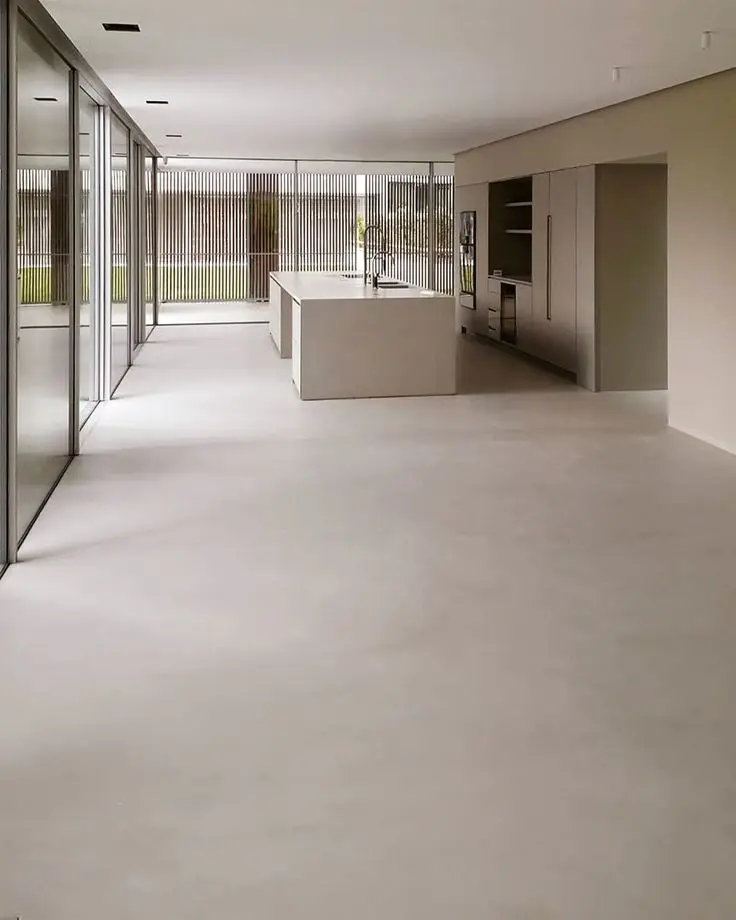
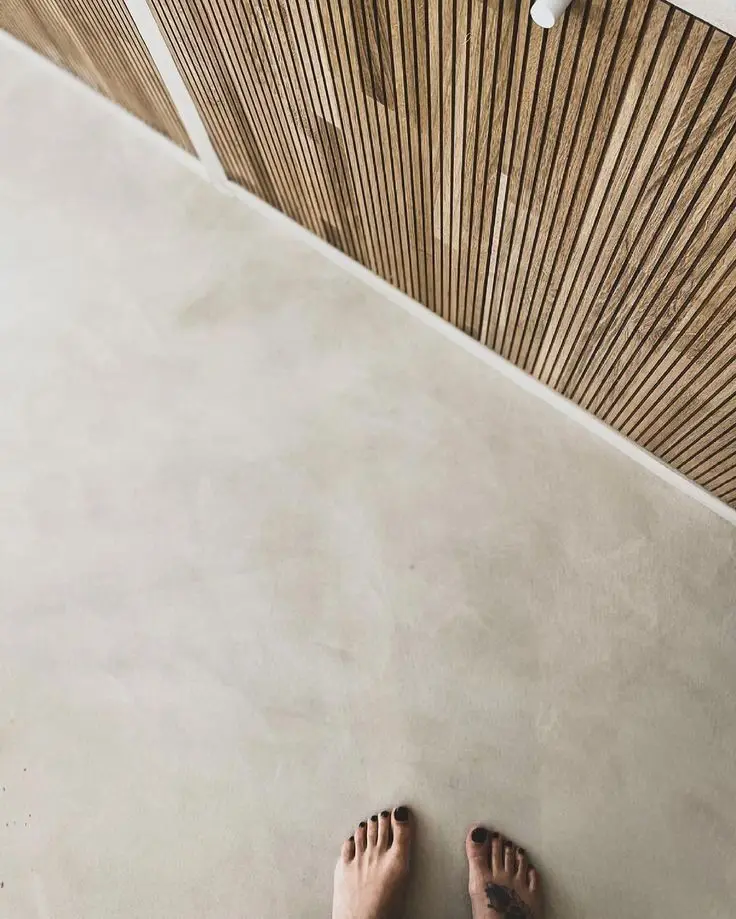
Kitchen Floors
Seamless floors with no grout lines to trap grease. The same daily-clean routine as every other microcement surface — sweep and damp-mop.
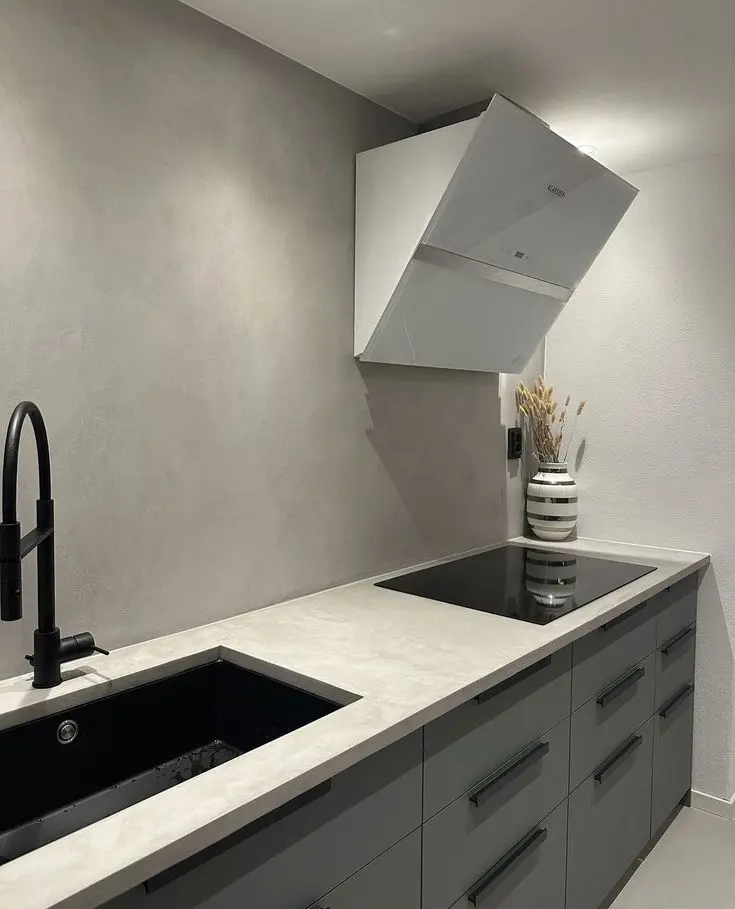
Splashbacks
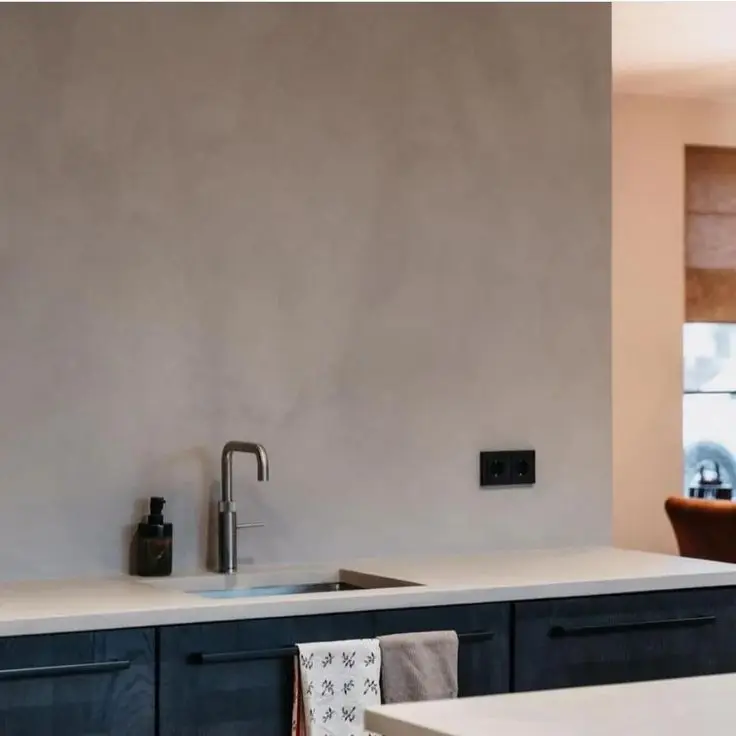
Continuous wall finish behind the hob and preparation areas. No tile joints to collect grease. Sealed against heat, oil splash, and cleaning product chemistry.

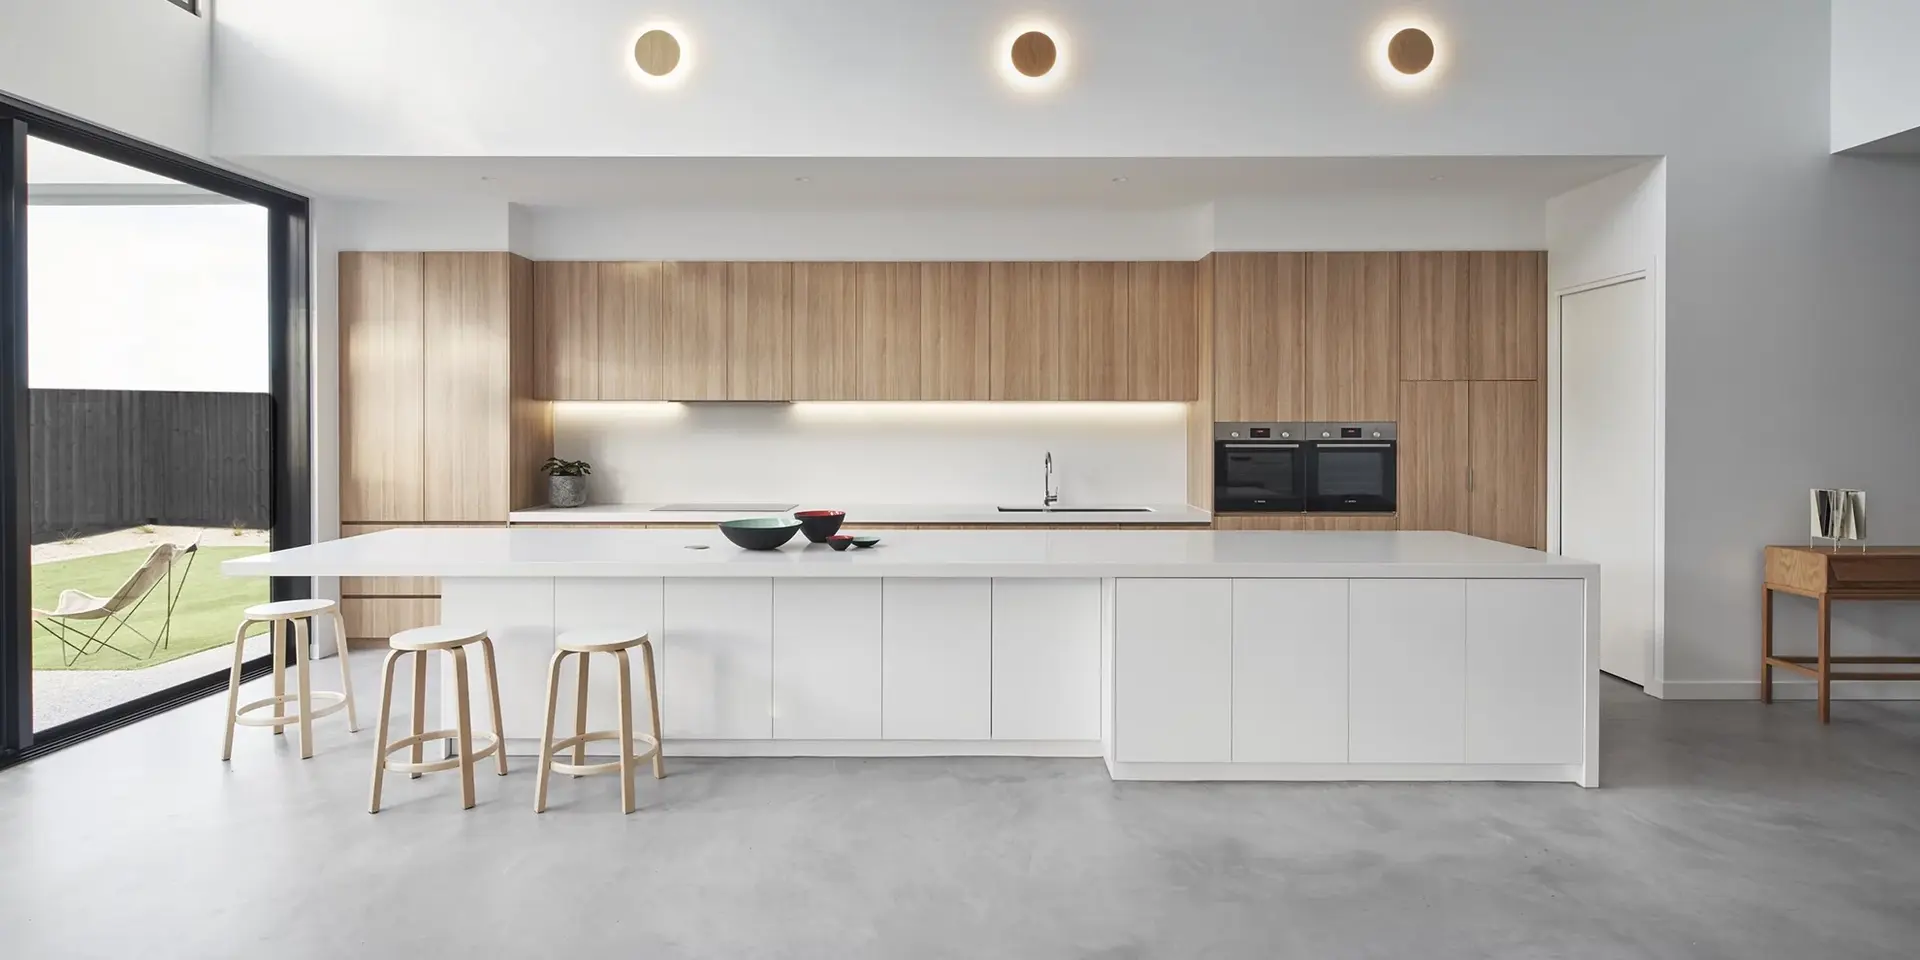
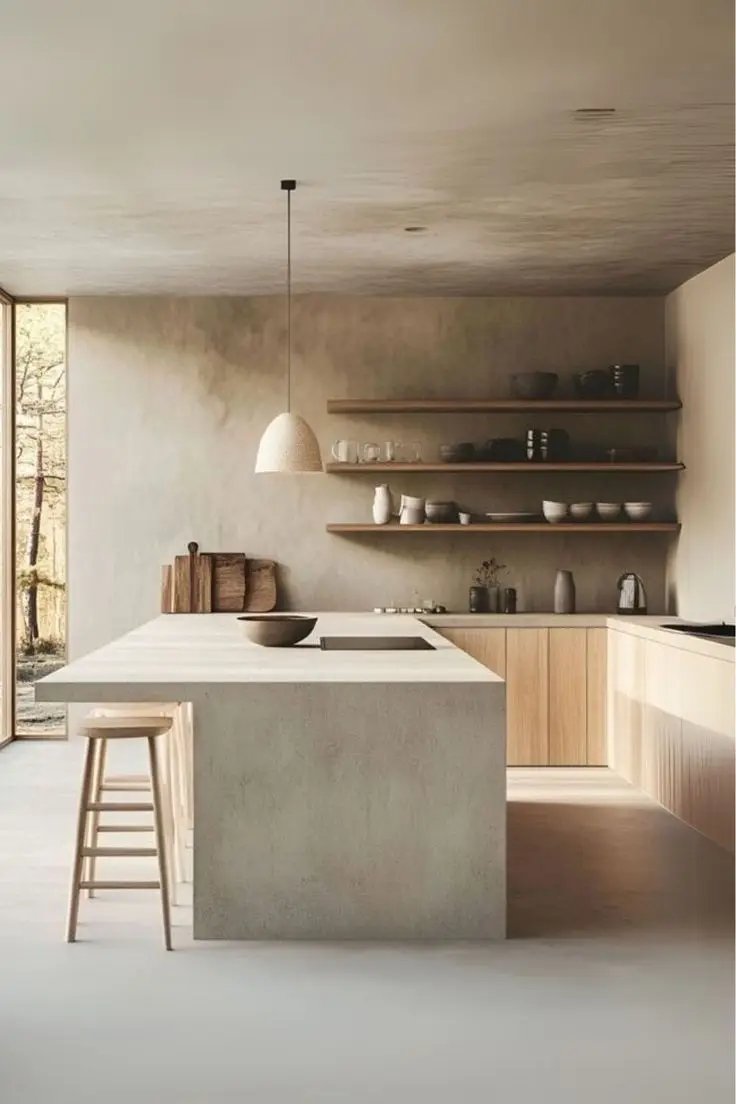
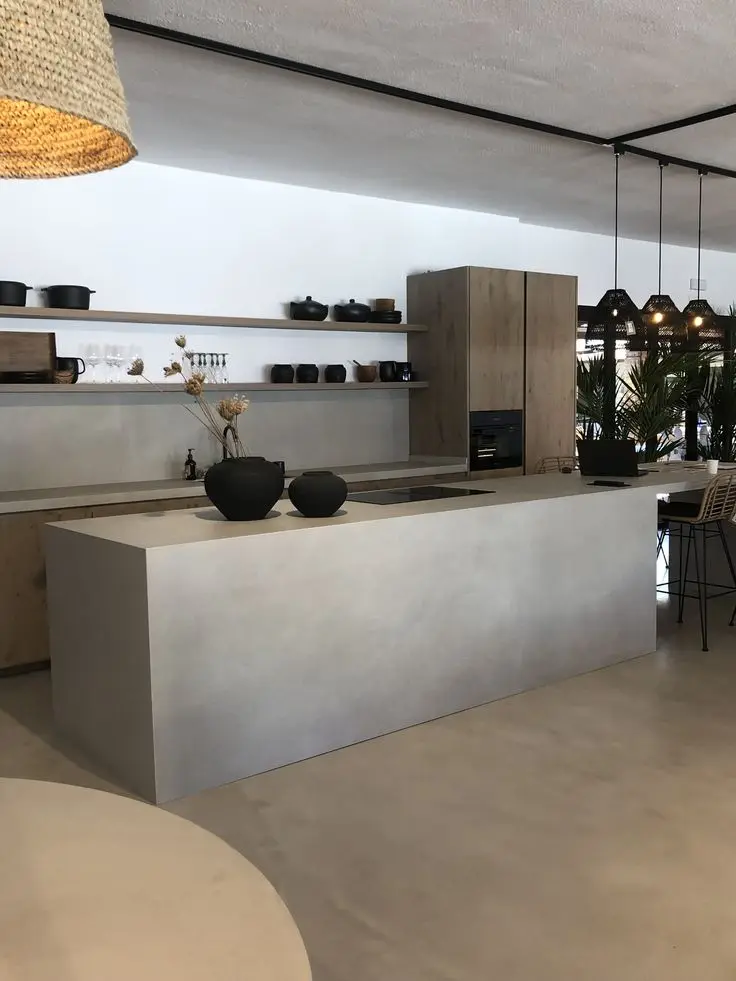
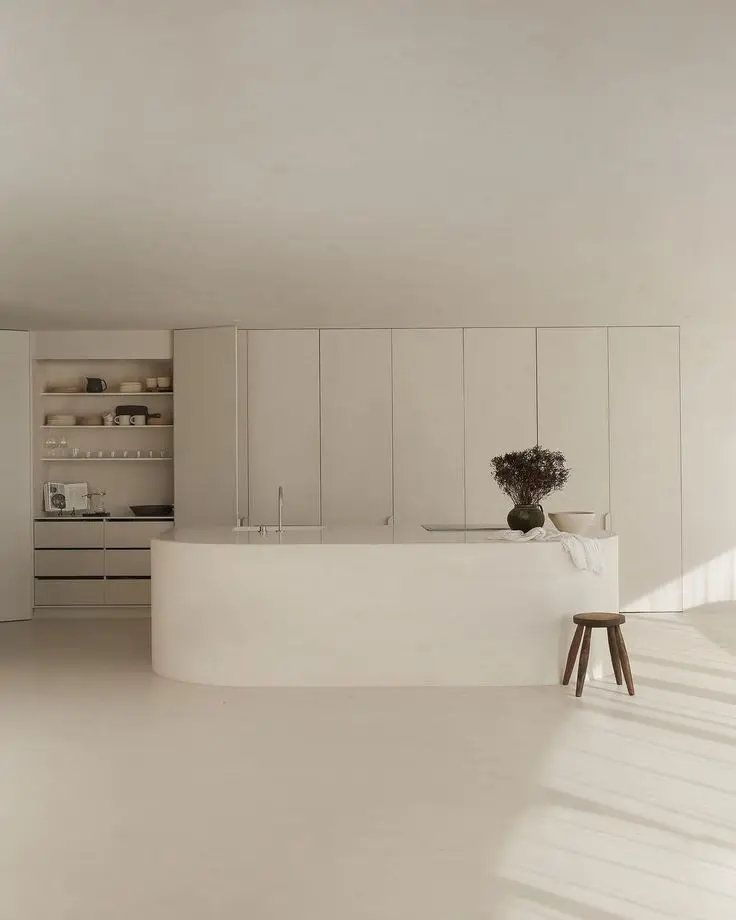
Kitchen Islands
Seamless mineral skin applied over existing island cabinetry. Curved edges, waterfall sides, and integrated surfaces all covered in a single continuous coating.
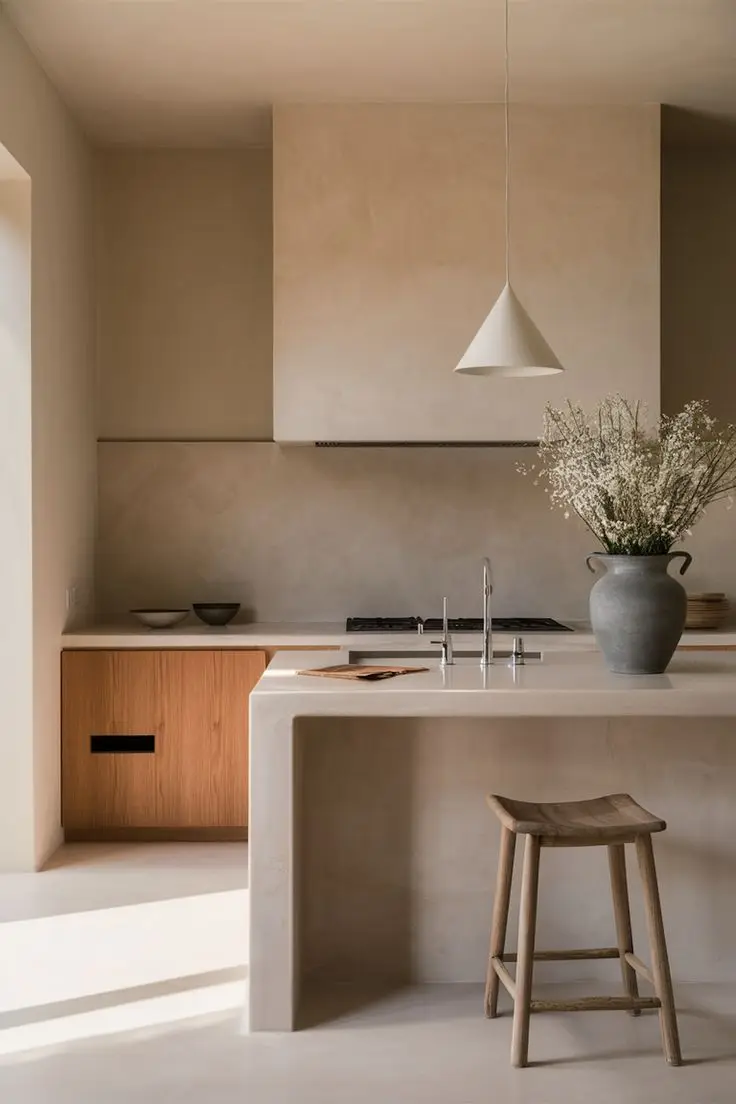
Countertops
Applied over existing stone or wood countertops where the base is stable. Waterfall edge designs and integrated surfaces covered in the same coating as the floor.

Integrated Sinks
Sinks formed continuously with the countertop — no junction between sink and worktop for water and food residue to collect in.
Why Grout Lines Fail in Kitchens — and What Microcement Does Differently
Kitchen grout fails faster than any other grout in the home. The combination of daily fat and oil deposits, hot water, steam, and aggressive cleaning products degrades grout binders over time — the lines darken, soften, and eventually crack. Once cracked, grout cannot be cleaned: bacteria and grease embed into the fractured surface. The only real fix is re-grouting, which means removing the old grout, replacing it, and starting the deterioration cycle again.
A microcement kitchen eliminates the grout joint entirely. The floor, splashback, or countertop becomes a single continuous mineral surface with no recessed channels. Oil and food residue sit on top of a sealed surface until wiped away — they have no joint to penetrate, no porous material to embed into. One wipe cleans the surface.
Chemical resistance is where most surfaces fail in kitchens. Standard sealers are tested for water resistance, not for repeated exposure to cooking oil, citric acid, alcohol, and the alkaline cleaning products used to remove them. Kitchen-grade microcement sealers are specifically formulated for this chemistry — tested against oils, wine, tomato, and commercial kitchen degreasers. The sealer holds its barrier against repeated chemical contact in a way that standard floor sealers do not.
Vertical surfaces in kitchens — splashbacks and cabinet faces — take punishment that floor-specified products cannot always handle. The application process for vertical kitchen surfaces uses a stiffer mix to prevent sagging during application, and the sealer specification addresses the specific combination of heat from the cooktop and oil splash that a splashback faces daily.
How Microcement Gets Installed in a Kitchen
Kitchen surfaces need more chemical resistance than any other indoor surface. The preparation, sealer selection, and application sequence are specific to kitchen use — not the same as for a living room floor.
Deep Degreasing and Substrate Assessment
Kitchen surfaces accumulate grease and oil in the substrate — especially on areas near the cooktop and splashback zones. Industrial degreasing removes cooking residue from the surface before any assessment can be accurate. After degreasing, the substrate is assessed for stability: existing tiles are tap-tested, grout joint depth is measured, and any surface damage from previous cleaning or heat is documented. Grease contamination left in the substrate causes adhesion failure — this step is not optional.
Surface Preparation and Joint Filling
Diamond grinding or fine-grit sanding removes surface glaze and creates the mechanical profile that the epoxy primer requires to bond. Grout joints are filled flush with the tile face using a compatible filler, allowed to cure fully, and sanded smooth. On countertops and islands, any existing edges or transitions are assessed for whether they need reinforcing or feathering before the microcement system goes on.
High-Bond Epoxy Primer
A high-build epoxy primer formulated for kitchen environments is applied across the full prepared surface. The epoxy base provides better chemical resistance and adhesion on non-absorbent surfaces — polished stone countertops and glazed splashback tiles — than standard bonding primers. On vertical surfaces, the primer viscosity is adjusted to prevent runs and ensure consistent coverage across the full wall height.
Structural Base Coats
Two base coats of microcement are applied by hand trowel. On vertical surfaces — splashbacks and cabinet faces — each coat is applied in thinner passes than on horizontal surfaces to prevent sagging before the coat sets. Each coat is dried fully and sanded before the next goes on. The two base coats provide the structural foundation: compressive strength, colour depth, and surface consistency across the entire kitchen zone.
Finish Coat
The finish coat is hand-troweled to the chosen texture and colour. On kitchen floors, the finish coat is applied in a single continuous pass across the entire surface. On countertops and splashbacks, the finish coat is coordinated across horizontal and vertical surfaces to create a consistent tone and texture throughout the kitchen. Once applied, the finish coat is shaded from direct sunlight during curing to prevent uneven drying.
Kitchen-Grade Chemical-Resistant Sealer
A high-build aliphatic polyurethane sealer formulated for kitchen chemical resistance is applied in multiple coats. This sealer is specifically tested against cooking oil, food acids, wine, and the alkaline cleaning products used in kitchens — not just water resistance. For countertops and splashbacks, a higher-solids formulation with greater abrasion resistance is applied. Light kitchen use after 48 hours. Full cooking use after 7 days.
Kitchen Colour Options
Lighter tones suit kitchens that need to feel spacious and bright. Darker tones work in larger kitchens where a dramatic, architectural finish is the goal.
Cream Oatmeal
A warm, light-reflecting cream tone that pairs with timber and natural material kitchens. Makes smaller kitchens feel larger and brighter.
Steel Grey
A cool, industrial grey with a coarse mineral grain. Pairs with stainless steel appliances and dark cabinetry for a professional kitchen aesthetic.
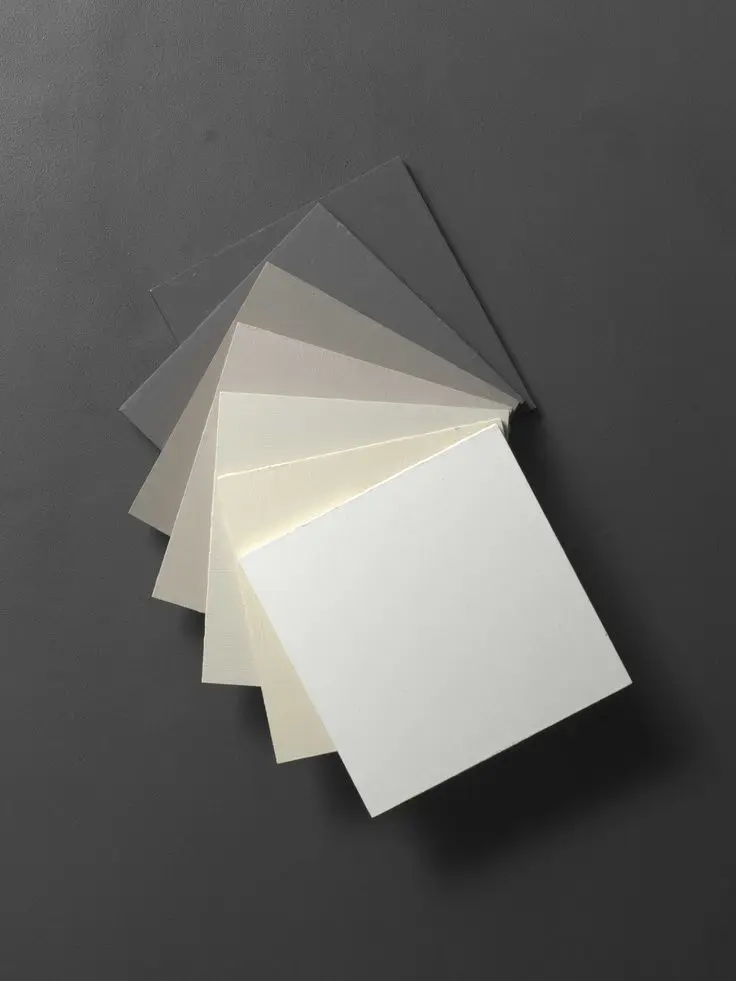
Full Colour Range
Over 100 mineral pigment colours available — from soft whites and warm sands to deep charcoals. Sample boards available before any commitment.
Microcement Kitchen — Questions Answered
Yes. Once fully cured and sealed, the surface is inert and non-reactive — no chemicals from the coating transfer to food. The seamless, non-porous sealed surface is actually more hygienic than grouted tile for food preparation: no joints for bacteria to establish in.
Kitchen-grade microcement sealers are specifically formulated to resist cooking oil, food acids, wine, and citrus. Spills sit on the sealed surface rather than penetrating — wipe them up promptly and the surface is unaffected. The sealer needs to be professionally refreshed every 2 to 3 years in a regularly used kitchen to maintain this performance.
Yes. The mineral body is heat-stable and does not degrade under the ambient temperature behind a stovetop. The kitchen-grade sealer is formulated to handle the combination of heat and oil splash specific to a splashback location. The surface cannot have hot pans placed directly on it — but as a splashback, that is not a relevant condition.
Damp-mop floors with a pH-neutral cleaner. Wipe countertops and splashbacks with a damp cloth and mild soap. Avoid harsh degreasers, abrasive cleaning pads, and any cleaner with a pH below 6 or above 9 — these degrade the sealer over time. Do not use bleach on microcement surfaces.
Yes, if the base is stable. Solid stone and timber countertops in good condition can be overlaid with 3mm of microcement after the surface is assessed and prepared. Countertops with movement, flexing, or delamination issues need to be stabilised first — microcement will reflect any movement in the base.
An extreme impact can mark any surface — microcement, porcelain, or natural stone. Microcement is significantly more impact-resistant than ceramic tile, which would crack or shatter under the same force. A localised impact on microcement might leave a small mark but is unlikely to cause structural failure across the floor.
SAR 80–130 per square meter for the complete installed system. Kitchen countertops and splashbacks sit toward the upper end of the range — the chemical-resistant sealer specification and vertical application technique add cost compared to a straightforward floor. Every quote is itemised line by line before any work begins.
Send Us a Photo of Your Kitchen. We Will Tell You What Is Possible.
WhatsApp us a photo of your current kitchen — floor, countertop, splashback, or island — and tell us what you want to change. You will get an honest assessment of whether microcement is the right choice, what preparation it needs, and what it will cost.