What Makes Microcement Flooring Different From Everything Else
Microcement flooring is a cement-based coating that creates a seamless, continuous surface with no grout lines, no joints, and no seams. The material bonds directly to your existing tiles, so your current floor stays in place. The result looks more expensive than it costs and performs like a high-end industrial material — at 2 to 3 millimeters thick over what you already have.
The biggest reason people choose microcement flooring is simple: they are tired of their tiles, but demolition sounds nightmarish. Microcement lets you skip all of that. The existing tiles are ground and cleaned, a waterproof base is applied, and then the microcement is hand-troweled in layers. Within days, not weeks, the floor is transformed. No jackhammers. No rubble. No months of construction disruption.
Tiles conduct cold from the slab beneath them — that is why a tiled floor feels icy in the morning. Microcement feels neutral to slightly warm underfoot, a comfort difference most people do not expect until they have lived with it. Beyond comfort, you get genuine design freedom. Tiles lock you into grout lines and pre-made sizes. Microcement gives you over 100 mineral-based colours and multiple trowel textures for a completely custom result.
Daily thermal cycling — extreme heat through the day, significant cooling at night — puts continuous stress on any rigid bonded floor surface. Tile grout handles this badly: it cracks, crumbles, and needs constant regrouting because the rigid joint cannot flex with the slab's movement. Microcement handles it differently. The polymer content in the mix gives the coating flexibility to move with the slab rather than resist it. The fiberglass mesh pressed into the primer layer absorbs structural movement before it reaches the surface. A correctly installed microcement floor does not develop the progressive grout failure that is common with tiled floors under daily thermal cycling.
On cost: microcement flooring runs SAR 80–130 per square meter for the complete installed system — slab testing, surface preparation, vapor barrier where needed, primer, mesh, base coats, finish coat, and sealer. A single-tone matte application on a floor in good condition sits toward the lower end. An artisanal two-tone effect with texture work, or a floor needing significant substrate repair, sits toward the upper end. Every quote is itemised line by line — you see exactly what each element costs before any work begins.
What Microcement Flooring Delivers — and What to Know First
Completely Seamless
No grout lines collecting dust and debris. No transition strips between rooms. One continuous surface that makes spaces feel larger, cleaner, and more architectural.
Applied Over Existing Tiles
Your old floor stays in place. No demolition, no rubble, no weeks of chaos. The existing surface is ground for grip and the microcement system is applied directly on top.
Warm Underfoot — Underfloor Heating Compatible
Unlike cold tiles, microcement feels neutral to slightly warm underfoot. At just 2–3mm thick, it conducts heat from underfloor systems faster than tiles — reaching set temperature in roughly 11 minutes versus 30+ for ceramic.
Simple to Clean
Sweep and damp-mop with a pH-neutral cleaner. That is the entire routine. No grout lines to scrub. No tile crevices trapping dirt and debris.
Built to Last 15–20 Years
The microcement itself is cement — it does not break down. With the sealer refreshed every 3 to 5 years, the installed system performs for 15 to 20 years. Every installation is covered by a 3-year written warranty.
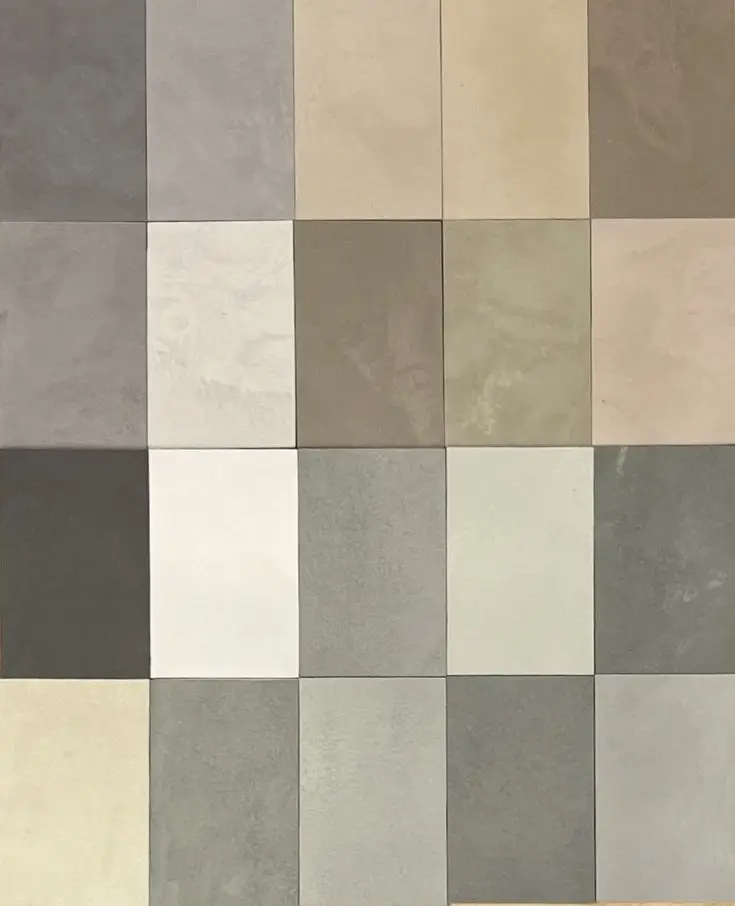
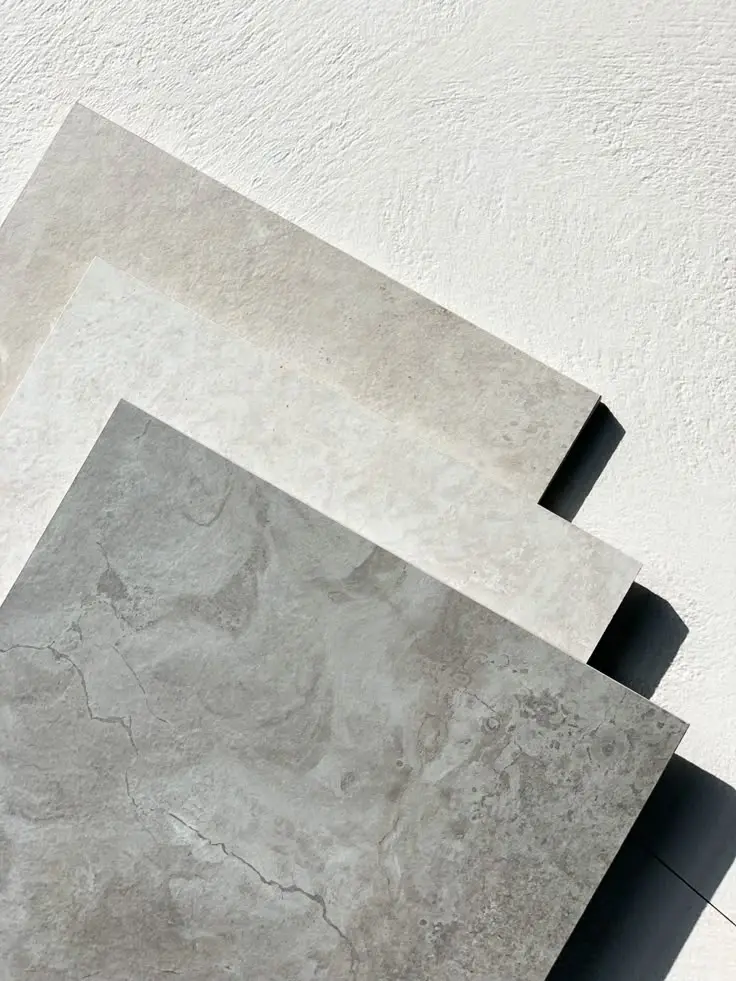
Over 100 Colours and Multiple Textures
Warm creams to deep charcoal. Ultra-smooth to deliberately textured. Matte, satin, or subtle gloss. Each floor is hand-troweled — no two ever look exactly the same.
Handles Thermal Cycling Better Than Grouted Tile
The polymer in microcement lets the coating flex with daily temperature swings instead of cracking. The fiberglass mesh underneath absorbs slab movement before it reaches the surface.
Develops Character Over Time
Porcelain is harder — that is physics. Heavy furniture without felt pads or dropped sharp objects will mark microcement over time. It develops a patina like leather or wood. If you want a surface that never shows any sign of life, porcelain tiles suit you better.
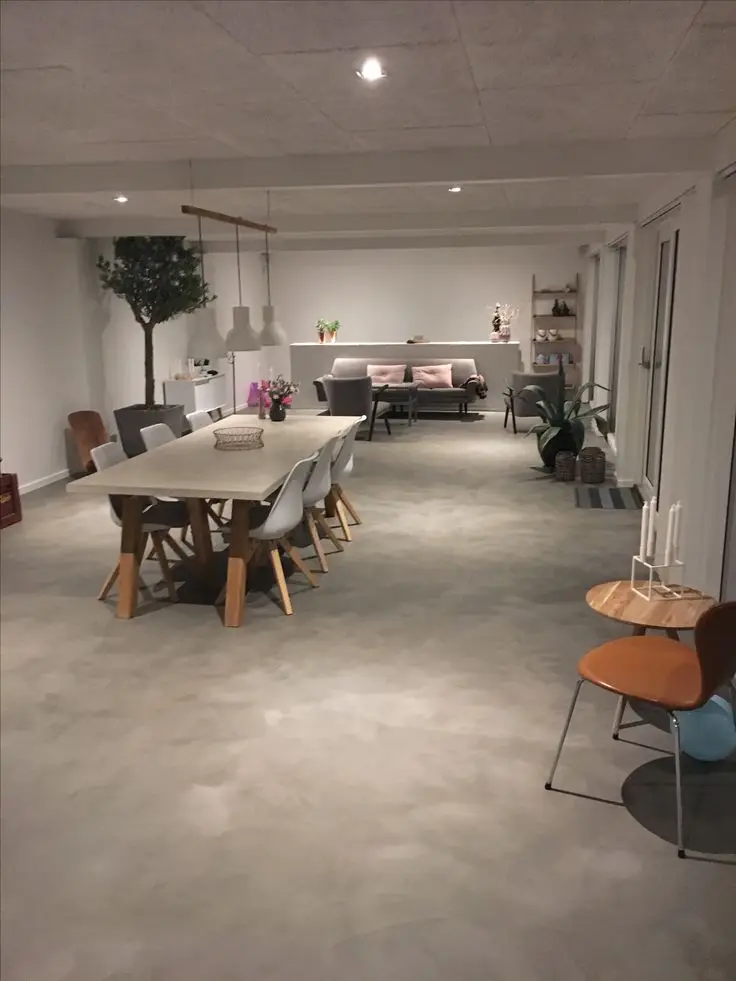
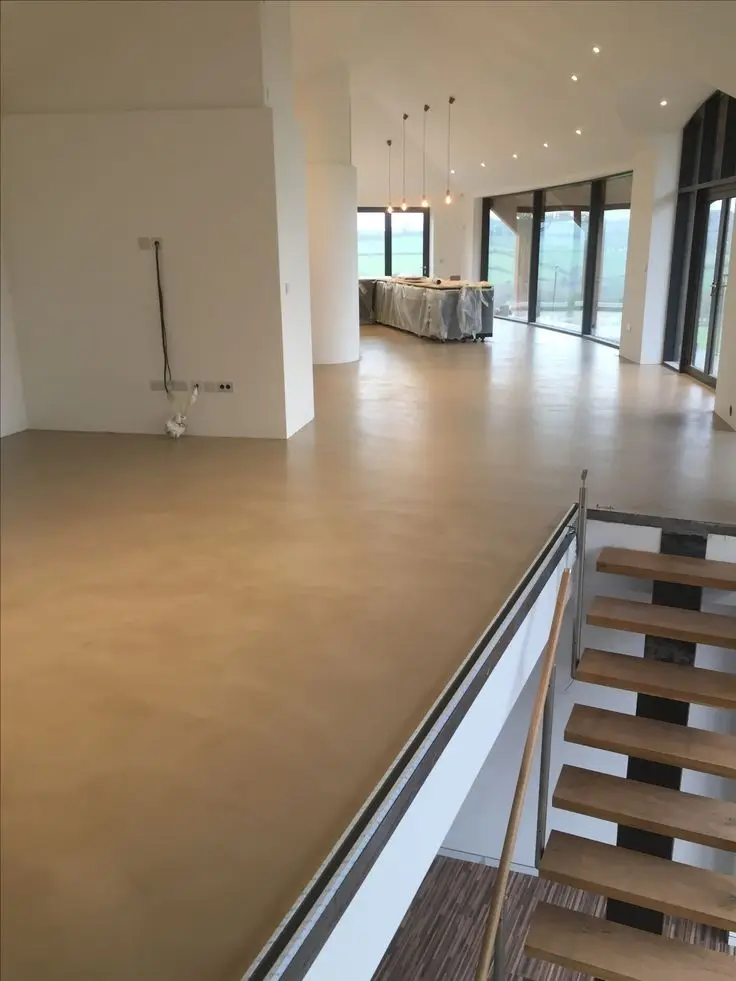
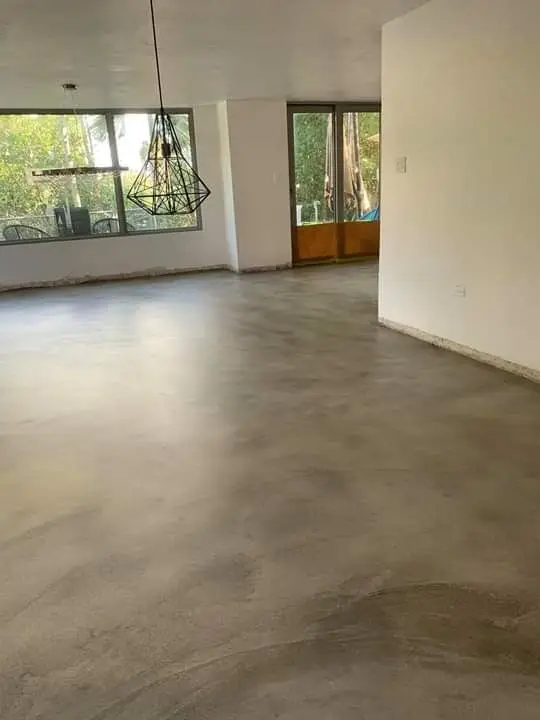
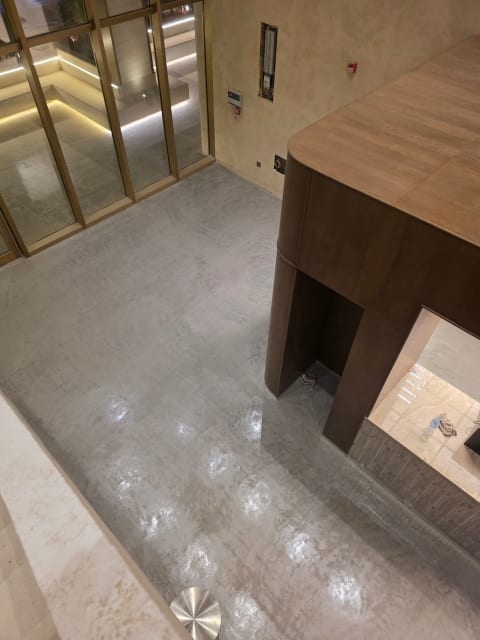
Microcement Flooring Projects
From open-plan living areas to residential villas — each one started with existing tiles and ended with the same seamless result.

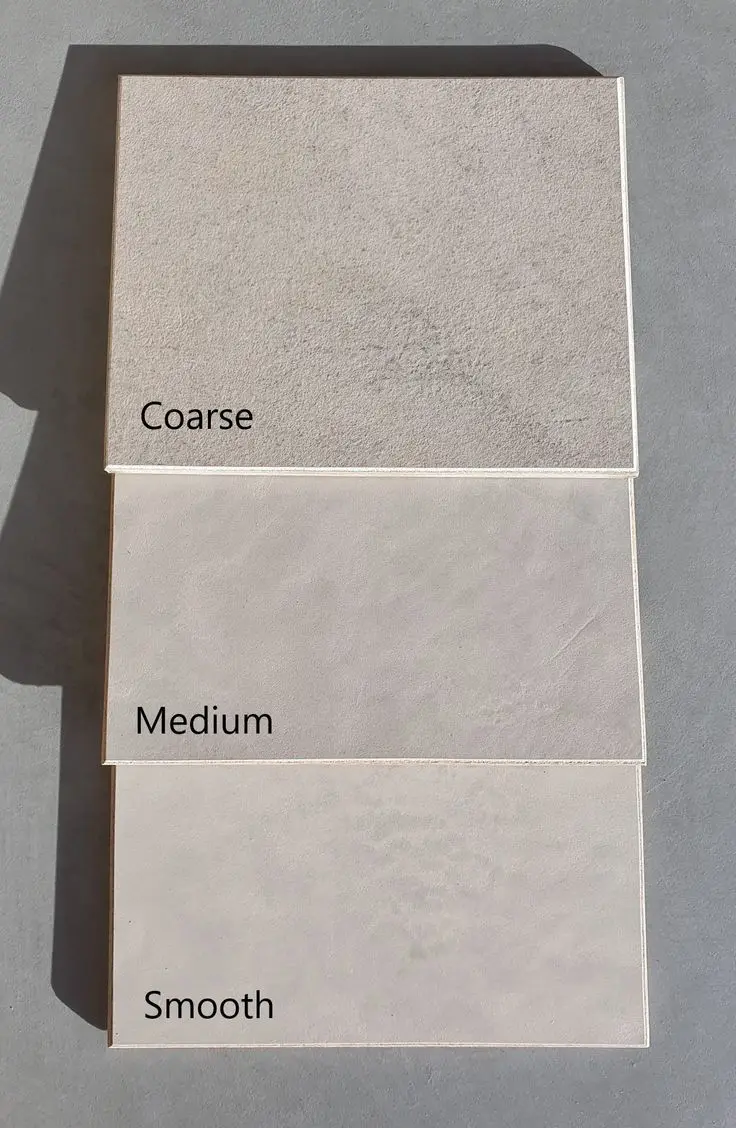
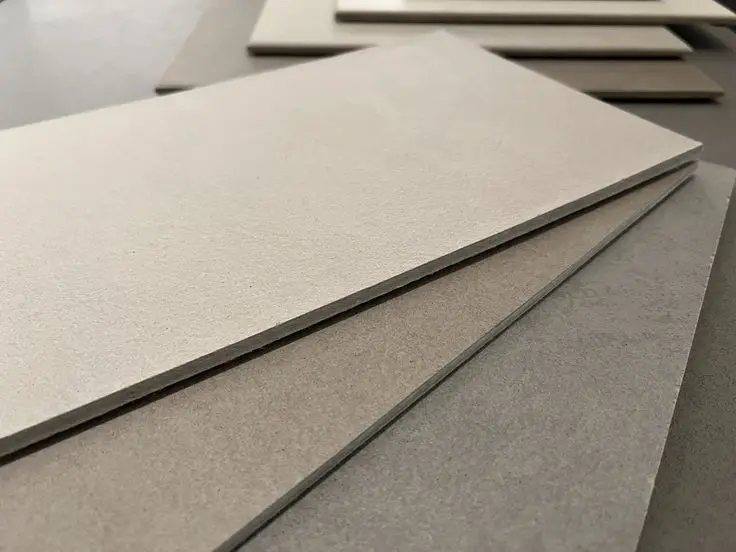
Flooring Finishes — Find Your Look
Every finish is hand-troweled on-site. The colour goes through the full depth of the material — not painted on top — so if it ever gets scratched, the same tone shows underneath.
Smooth Mineral
A sleek, satin or gloss surface that shows off colour depth and the natural mineral composition. Clean, modern, minimal visible texture. The most popular choice for contemporary residential interiors.
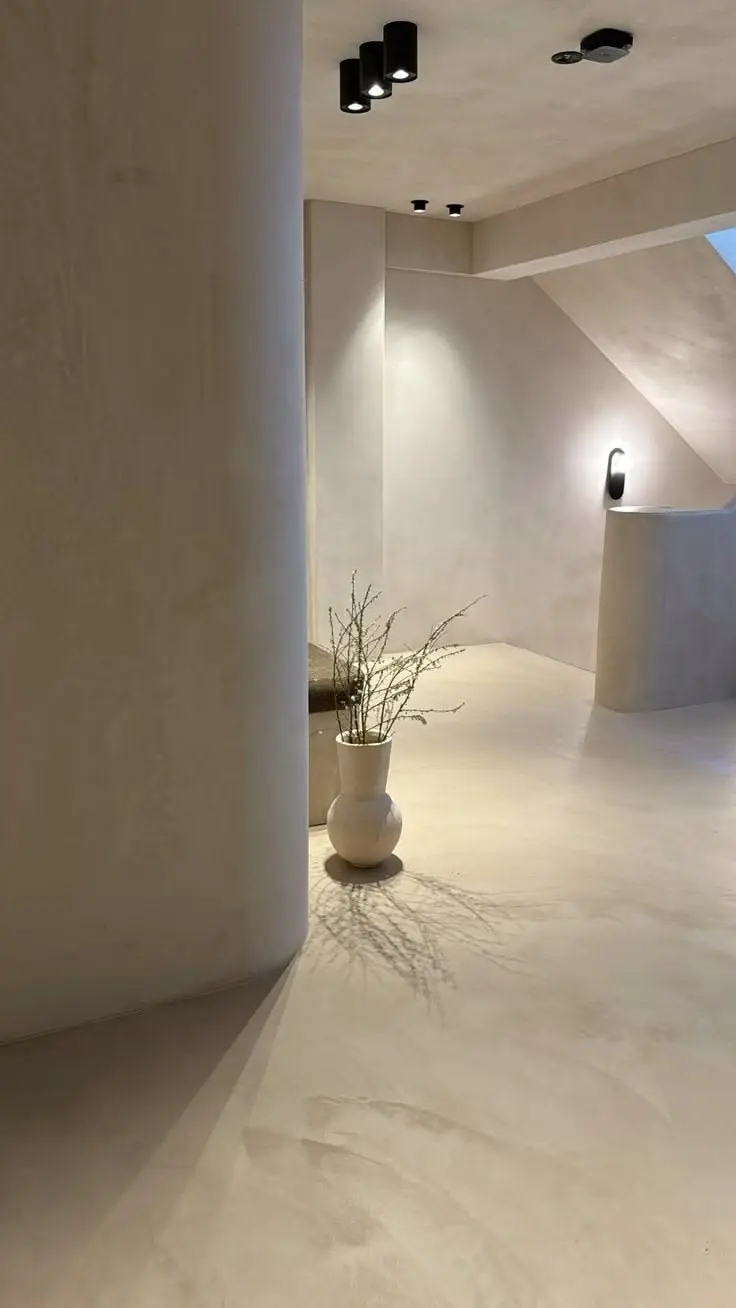
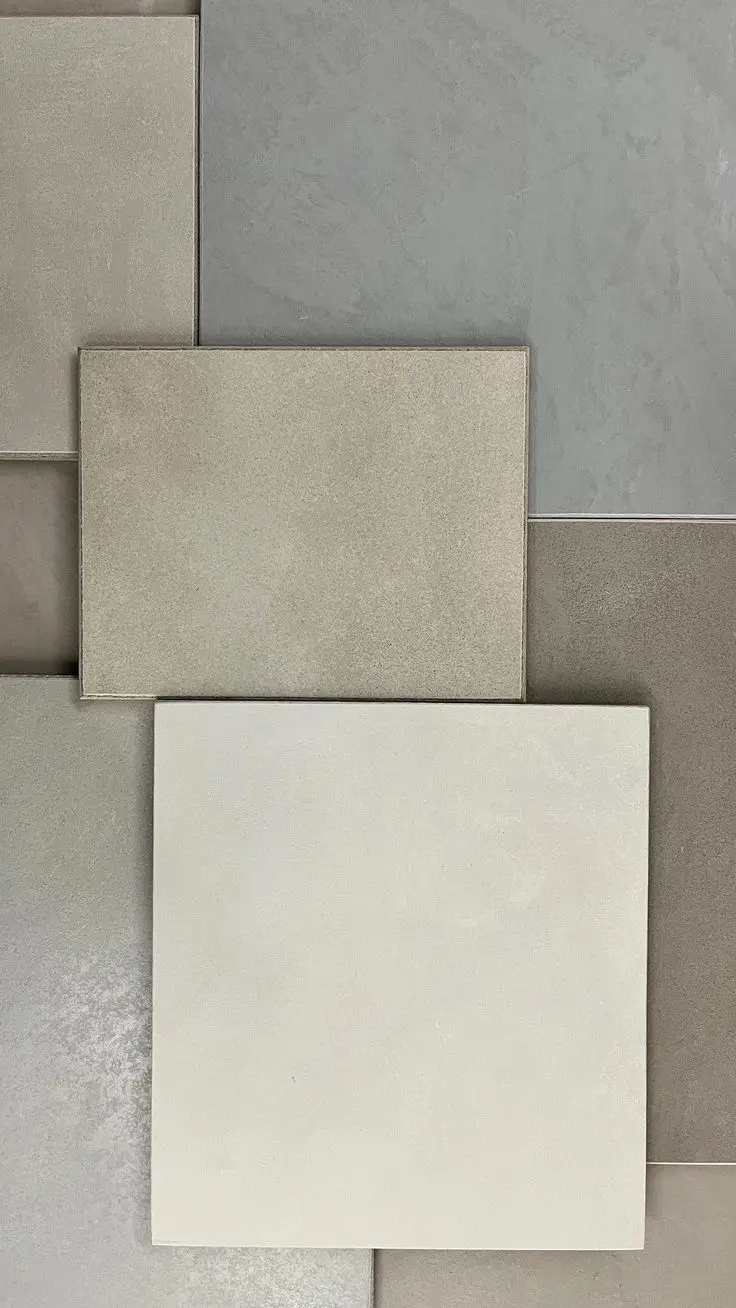
Warm Tonal Palette
Creams, warm whites, soft greys, and natural ochres. The colours that make spaces feel larger and more welcoming. The most requested palette for residential floors.
Hand-Troweled Artisanal
Deliberately textured with visible trowel marks and gentle undulations. Each floor is genuinely one of a kind — the finish that shows a human made it.
Architectural Tonal Depth
Two tones layered over each other to create depth and movement. Adds visual sophistication without making a space feel busy. Popular in large open-plan areas.
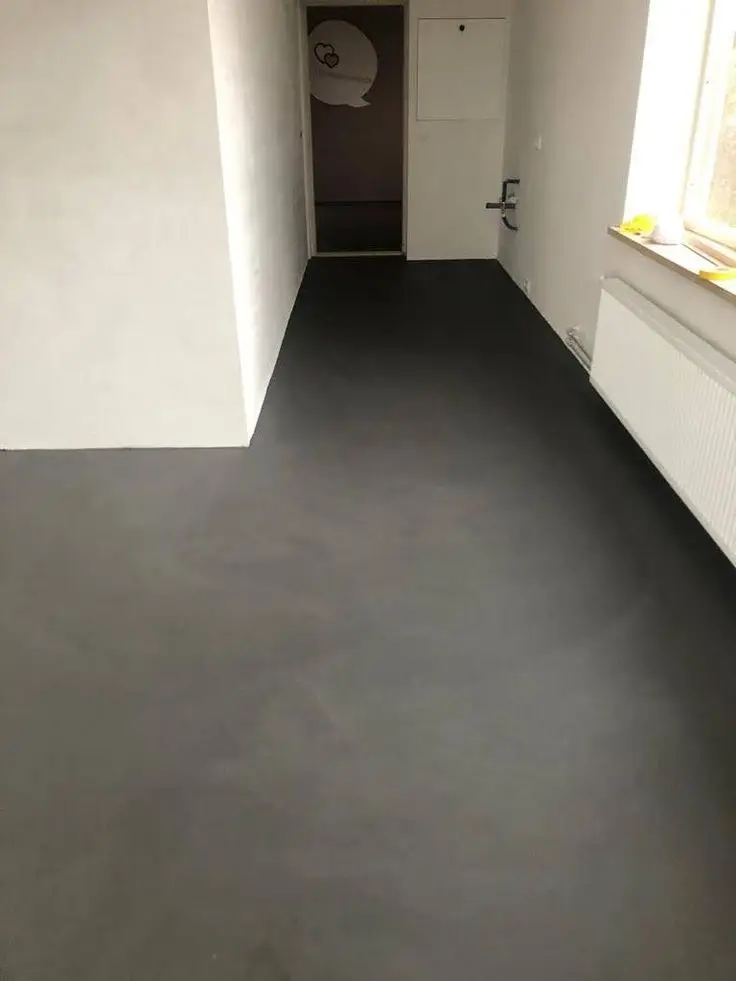
Industrial Charcoal
Deep greys and charcoals with a raw, pared-back feel. The look of polished concrete but softer underfoot and at a fraction of the thickness.

Anti-Slip Textured
A coarser texture for proper grip without sacrificing the seamless look. R12 slip resistance rating. The correct specification for wet zones and outdoor-adjacent floor areas.
How Your Microcement Floor Gets Installed
Six honest stages, no shortcuts. The drying times and the exact vapor barrier we use change with the condition of your slab — but the order never does. Skipping a stage is exactly how floors fail a year later.
Slab Assessment and Moisture Testing
Before we mix a single bag of material, we test your slab for moisture — at several points across the floor, not just one. This is the step most people never hear about, and it is the one that quietly decides whether a floor lasts or lifts. Moisture trapped under a sealed coating has nowhere to escape, so months later it pushes up from below and the floor starts to peel. The readings tell us whether you need a vapor barrier and which one. If the slab is not ready, nothing else starts — we do not gamble on this part.
Grinding and Surface Preparation
Your existing tiles stay right where they are. We run diamond grinders across the whole floor to cut through the glaze, old sealer and anything loose, until the surface is rough enough for the microcement to grip it mechanically — not just sit on top of it. Grout joints get filled flush. Any tile that sounds hollow or is starting to lift gets fixed or swapped out now, because a loose tile today becomes a crack in your new floor later. By the end of this stage the whole floor is solid and evenly profiled.
Vapor Barrier and Primer Application
If the moisture test called for it, an epoxy vapor barrier goes down across the floor first. Then the bonding primer — two coats, each left to reach the right tack before we move on. While the primer is still wet, we press a fiberglass mesh into it and work it down completely: no air pockets, no gaps where the sheets overlap. That mesh is the floor's shock absorber — it takes the building's small movements and the daily heat-and-cool swing and soaks them up before any of it can reach the surface you actually walk on.
Structural Base Coat
The first real coat of microcement is a thicker, pigmented base, troweled on by hand across the whole floor. This layer does the heavy lifting — it builds strength, sets the depth of the colour, and evens out any small variations left in the surface. We let it dry fully before touching it again, usually 12 to 24 hours depending on the weather that day, then sand it back. That sanded surface is what gives the next coat something to grip.
Finish Coat and Artisanal Troweling
This is the thin one, and it is the hardest to get right. The finish coat has to go down in one continuous pass across the whole room — if one area starts setting while we are still working the wet edge next to it, you get a visible line that cannot be fixed once it cures. This is where your texture and final colour actually come to life. It takes an experienced hand to keep the entire surface even, with no trowel marks or lap lines.
Sealing and Final Cure
Once the finish coat has fully cured, we seal it — several coats of sealer, each one dried before the next, rolled on with a short-nap roller. For homes we use a premium aliphatic polyurethane in the sheen you picked: matte, satin or a soft gloss. This sealer is what makes the floor waterproof, stain-resistant and easy to wipe clean. You can walk on it gently after about 48 hours, and use it fully — furniture and all — after 7 days, once it has reached full hardness.
How Much Does Microcement Flooring Cost in Saudi Arabia?
There is no single fixed price — every floor is different. As a starting point, microcement flooring runs from around SAR 80 to SAR 130 per square metre for the complete installed system: all materials, all labour, and the full installation from preparation to the final sealer coat. Where your floor lands in that range comes down to a few real things, listed below. Either way, you get an itemised quote before any work begins — no surprises at the end.
The range above is a guide, not a quote. The only way to give you an exact figure is to actually see the floor — send us a photo on WhatsApp and you will get a straight answer with no obligation.
Get your floor priced on WhatsAppMicrocement Flooring — Questions Answered Honestly
Yes — it is one of the best surfaces you can put on a floor, which is exactly why it has taken off for homes and shops across Saudi Arabia. It is seamless, so there are no grout lines to crack, stain, or trap dirt. It goes straight over your existing tiles with no demolition. It feels warm underfoot instead of cold like ceramic, and a properly installed floor lasts 15 to 20 years. The one honest caveat: it is a hand-applied cement finish, so it needs a genuinely skilled installer, and it develops a natural patina over time rather than staying factory-perfect forever.
Yes — and this is the most common way it is installed. Your tiles stay exactly where they are. The surface is ground for mechanical grip, grout joints are filled flush, primer and mesh go on, and the microcement system is applied on top. The only condition: every tile must be solid and properly bonded. Every tile is tap-tested before preparation begins. Any hollow, cracked, or lifting tile gets fixed first — these are crack initiation points that transfer directly through to the new surface.
When sealed with polyurethane, yes. The sealer creates a waterproof barrier across the entire seamless surface — no grout lines for water to pool in and penetrate. The sealer needs to be professionally refreshed every 3 to 5 years to maintain full waterproofing performance.
Sweep regularly and damp-mop with a mild pH-neutral cleaner. That is the entire routine. No grout to scrub. No crevices trapping dirt. Avoid acidic cleaners — vinegar, limescale removers, citrus-based products — these etch into the cement surface permanently. No abrasive pads, no bleach, no steam cleaners. The sealer should be professionally refreshed every 3 to 5 years for residential use.
15 to 20 years with correct sealer maintenance. The microcement coating itself is cement — it does not degrade. What wears over time is the sealer on top. Refresh it every 3 to 5 years and the floor continues performing at full specification. Every installation is covered by a 3-year written warranty against peeling, blistering, and sealer failure.
Porcelain is harder — Mohs 7 to 8 versus microcement's Shore D 72 surface hardness. Tiles will always win on raw scratch resistance. Where microcement wins: no grout lines cracking under thermal cycling, no cold feel underfoot, design flexibility, and the ability to be applied over the existing surface without demolition. Which is better depends on your priorities.
Being honest, there are a few. It is softer than porcelain, so sharp impacts or dragging heavy furniture without felt pads can mark it. It develops a natural patina over time — character to some people, a downside to anyone who wants a floor that looks brand new forever. The sealer needs refreshing every 3 to 5 years to stay fully waterproof. And because it is hand-applied, the result depends heavily on the installer's skill — a cheap, rushed job is where almost every microcement horror story comes from. Done properly, none of these are deal-breakers, but you deserve to know them before you decide.
Hairline surface marks are normal in cement-based materials — like the grain in leather. They are part of the natural character and do not indicate structural failure. Structural cracking is a different issue and is almost always caused by installation shortcuts: no fiberglass mesh, unfixed active cracks in the substrate, or base coats not dried properly between layers. Done correctly — with proper substrate assessment, mesh reinforcement, and correct drying times — structural cracking does not occur.
Standard sealed microcement is smooth but not dangerously slippery — similar to polished stone. For areas requiring higher slip resistance, anti-slip aggregate is worked into the finish coat to achieve R12 rating. The texture is subtle — proper grip without the rough appearance of a utility floor.
SAR 80 to 130 per square meter for the complete installed system — substrate assessment, surface preparation, vapor barrier where needed, primer, fiberglass mesh, two base coats, finish coat, and sealer. A single-colour matte application on a floor in good condition sits toward the lower end. Artisanal two-tone effects, significant substrate repair, or complex floor layouts sit toward the upper end. Every quote is itemised line by line.
Heavy furniture with sharp metal feet can mark or dent microcement over time — use felt pads under all furniture legs. Avoid dragging heavy objects across the surface. With correct use and proper sealing, the floor develops a natural patina over time rather than showing damage.
Light foot traffic is possible 48 hours after the final sealer coat. Full normal use — furniture, regular traffic — after 7 days. The full cure period is important: the floor reaches its complete hardness and waterproofing performance during those 7 days. Moving furniture in before full cure can mark the surface.
Yes, fully compatible. At 2 to 3mm thick, microcement conducts heat from underfloor systems faster than tiles do — reaching set temperature in roughly 11 minutes. The same system under ceramic tiles typically takes over 30. The seamless surface means no thermal bridging through grout lines.
Every 3 to 5 years for standard residential floors. High-traffic areas — hallways, open-plan living areas with heavy use — toward the lower end of that range. A sealer refresh is a professional half-day job that restores full waterproofing and surface protection without touching the microcement itself.
Send Us a Photo of Your Floor. We Will Give You a Straight Answer.
WhatsApp us a photo of your current floor and tell us what you are thinking. You will get an honest assessment: whether microcement is the right choice for that surface, what preparation it would need, and what it would cost.
Flooring Projects

Tawasul-Tech Mobile Repair Shop Floor — Al Bathaa, Riyadh

Shared Lobby Floor for a Gym and a Salon — First Floor, Al Hofuf
Two-Level Coffee Shop Floor — Seamless Microcement, Al Hofuf (Al-Ahsa)
Glass-Front Showroom Floor — Seamless Microcement, Al Malqa Riyadh

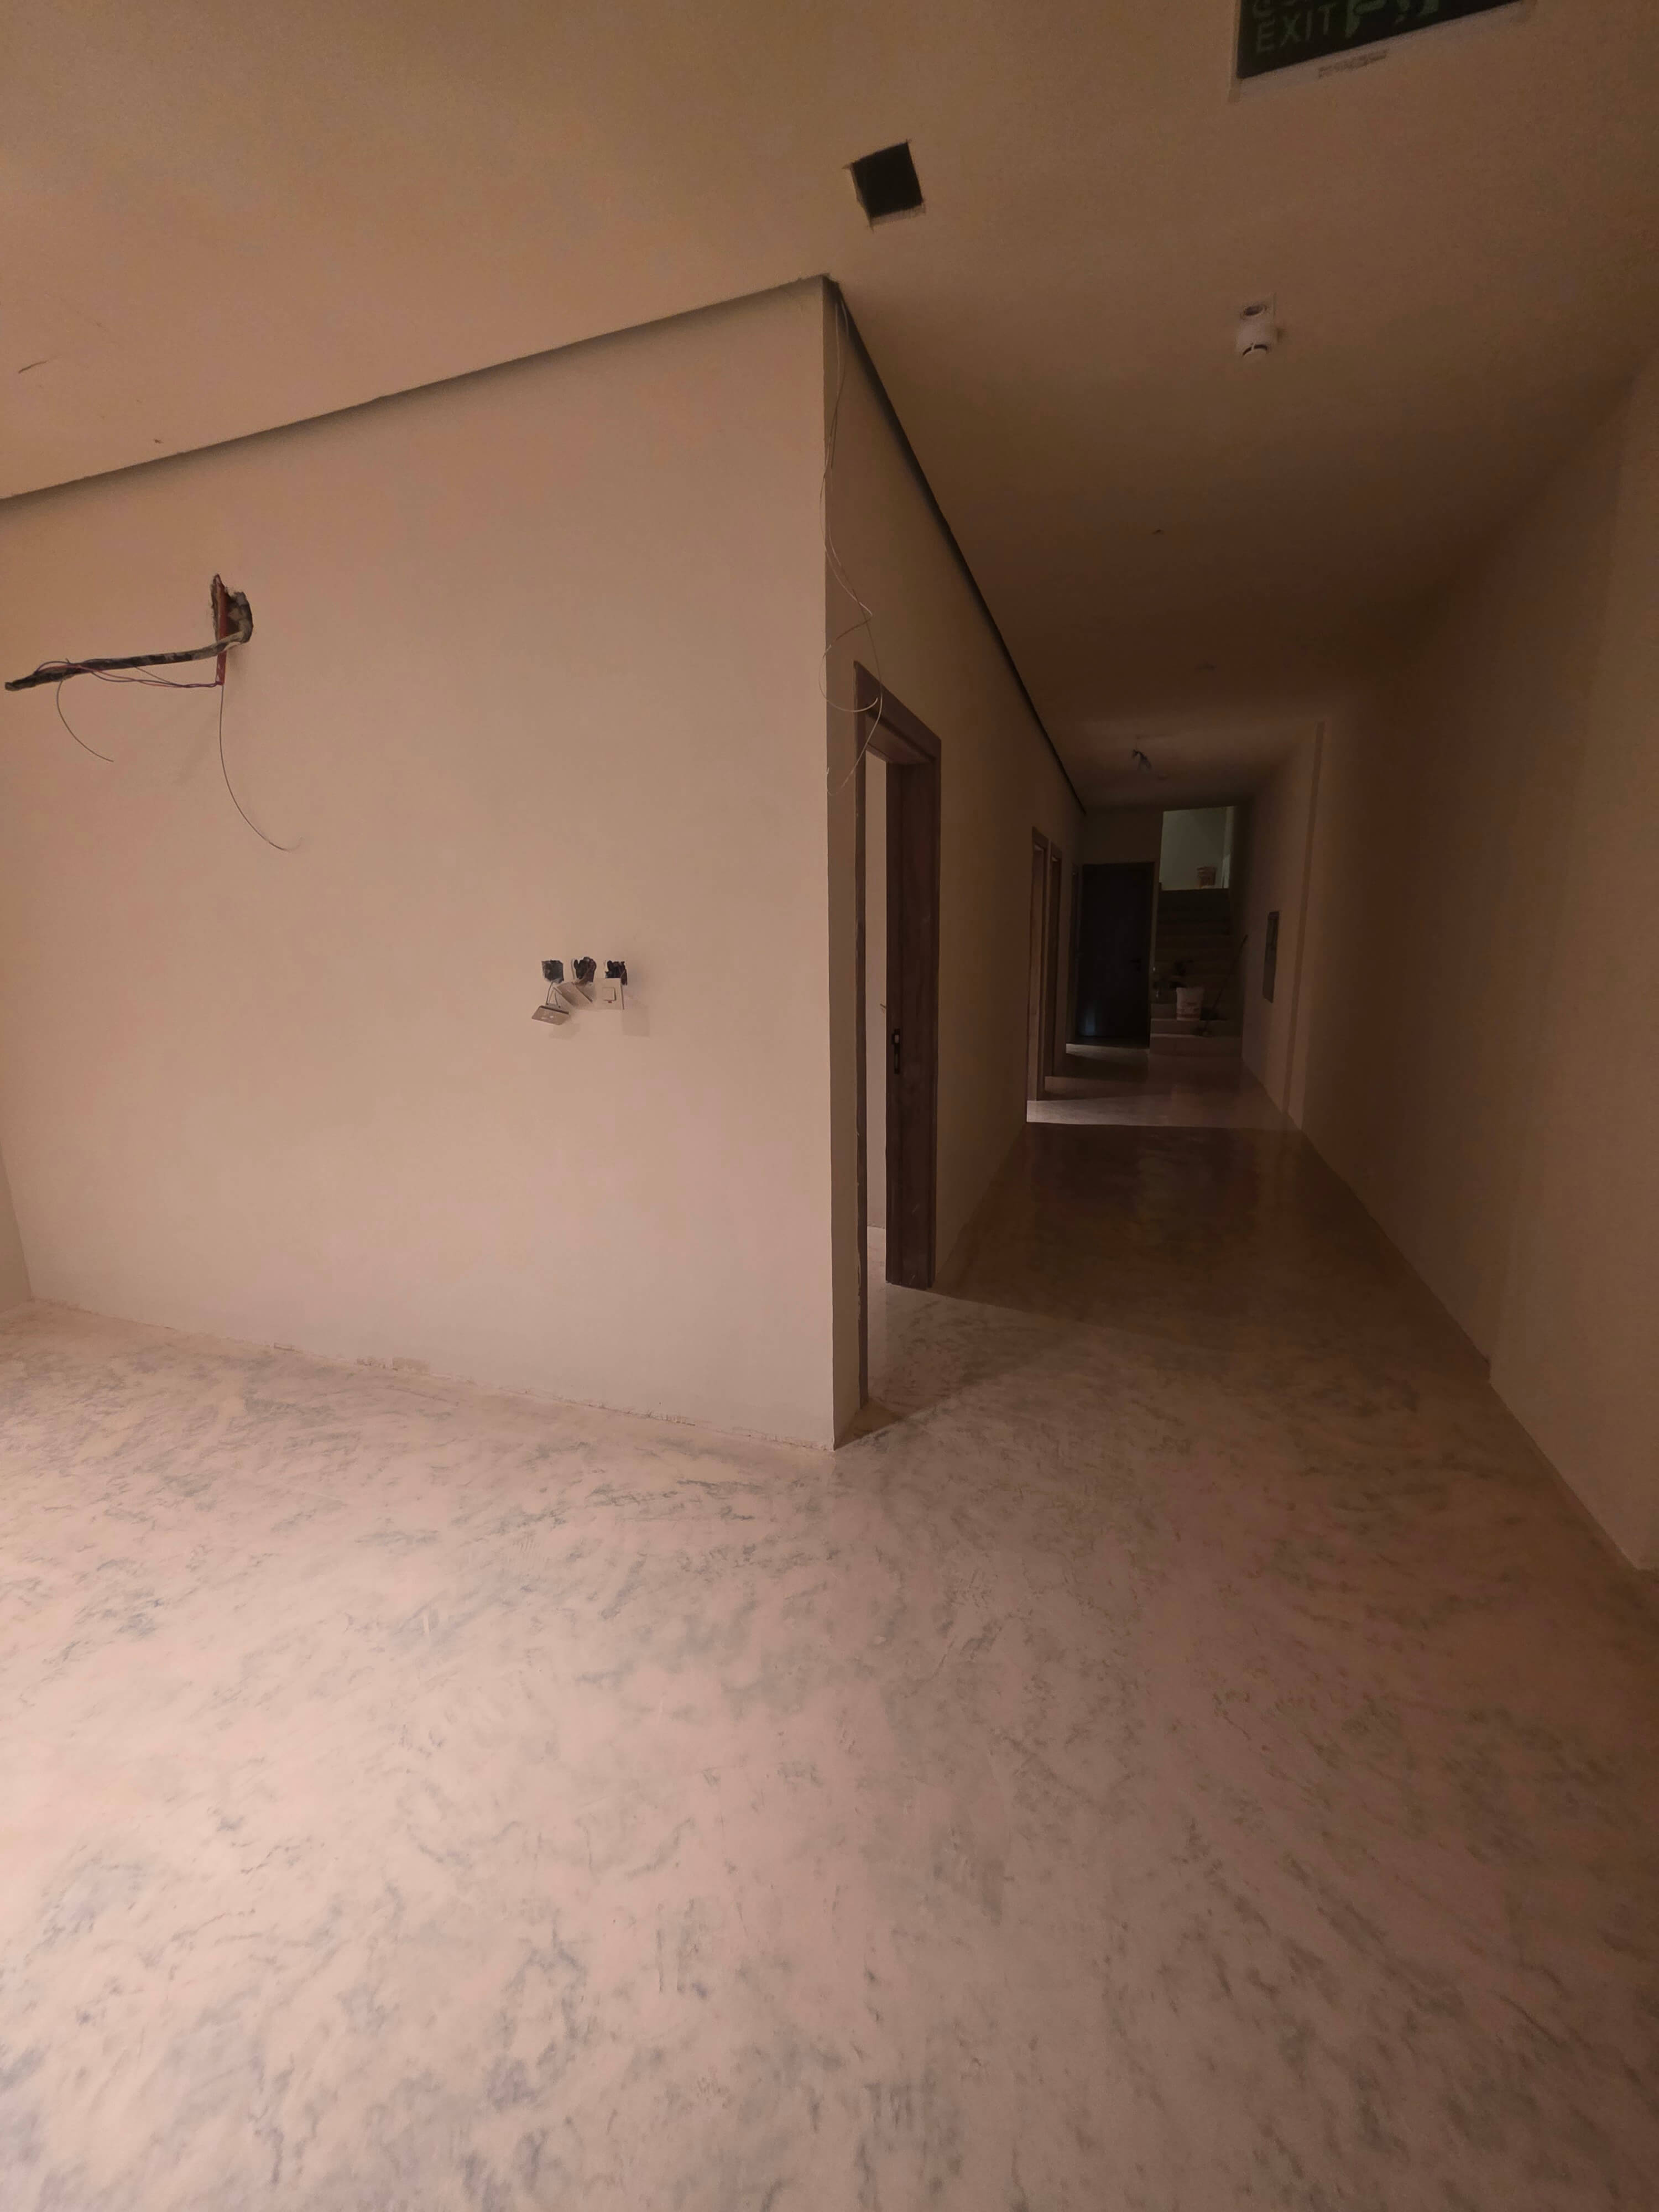
Residential Building Corridor Floor in Riyadh — 233 m² Seamless Microcement
